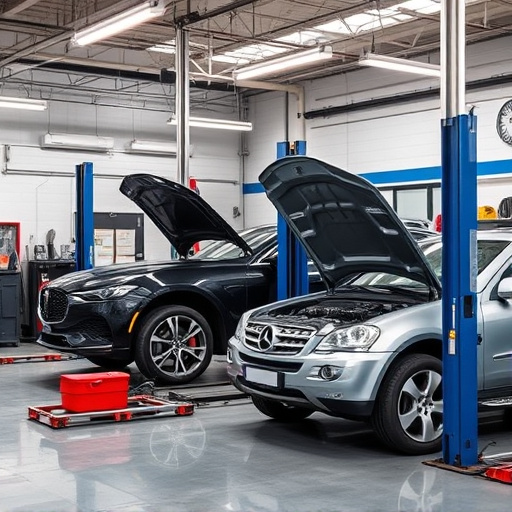

Before bumper damage repair, conduct a thorough assessment to understand the issue's extent. Gather all required tools and materials, including model-specific parts and adhesives. Prioritize safety by wearing PPE, maintaining a clean workspace, and understanding DIY regulations. For complex tasks, consider professional help for a smooth repair process.
Before diving into the bumper damage repair process, there are key considerations to ensure a successful outcome. This article guides you through the essential steps, starting with assessing the extent of the bumper damage. You’ll learn to identify minor scuffs from significant cracks and dents. Next, it outlines the gathering of necessary tools and materials, emphasizing safety protocols for your protection and that of your vehicle. By following these steps, you’ll be well-prepared to tackle your bumper repair project confidently.
- Assess the Extent of Bumper Damage
- Gather Necessary Tools and Materials
- Follow Safety Protocols for Repair
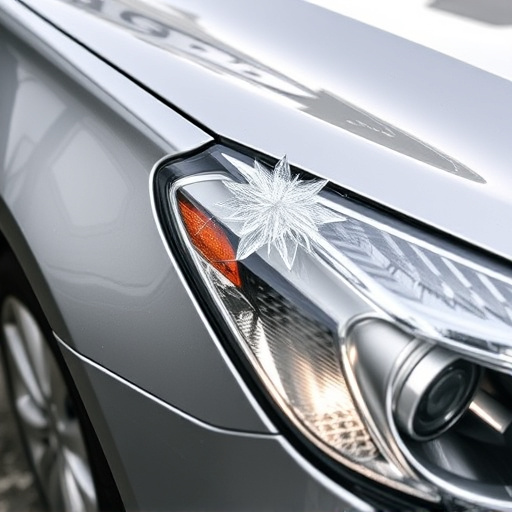
Assess the Extent of Bumper Damage
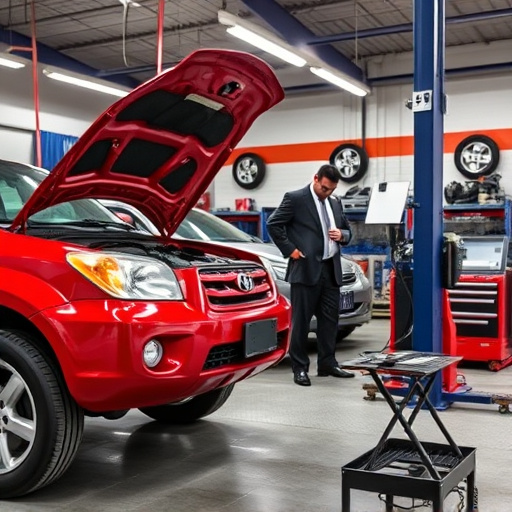
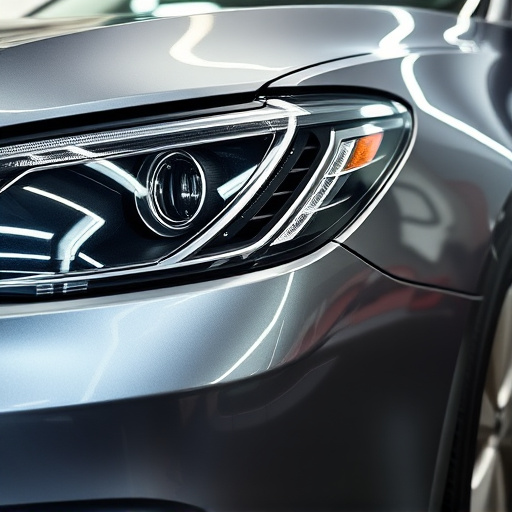
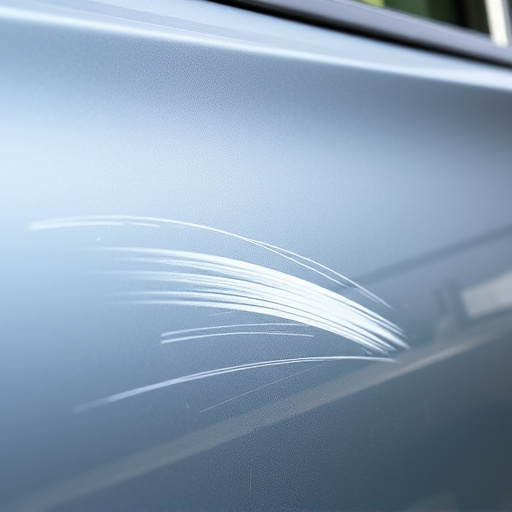
Before diving into bumper damage repair, it’s crucial to assess the extent of the damage. This involves carefully examining the bumper for cracks, dents, or any signs of deformation. Start by visually inspecting the entire length and width of the bumper, looking for obvious imperfections. If possible, use a flashlight to peer into hard-to-reach areas, as hidden damage can often go unnoticed. Take note of the size, depth, and location of each dent or crack, as this will influence the repair process and cost.
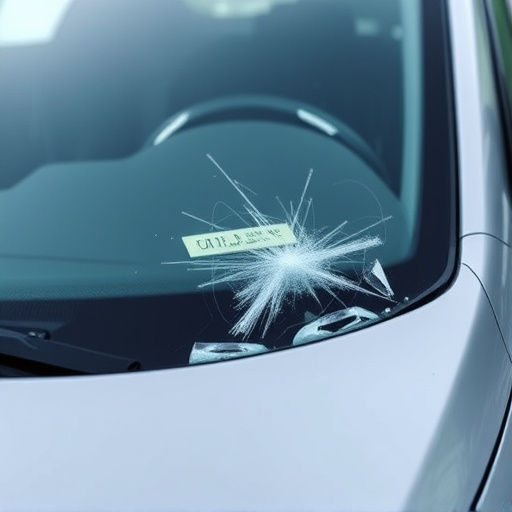
Additionally, consider whether the bumper requires just cosmetic fixes like painting and patching or if it involves more complex procedures such as metal straightening or even auto glass replacement in case of severe impacts. Remember that accurate assessment is key to selecting the right repair methods and ensuring a seamless restoration, ultimately saving time and money in the long run.
Gather Necessary Tools and Materials
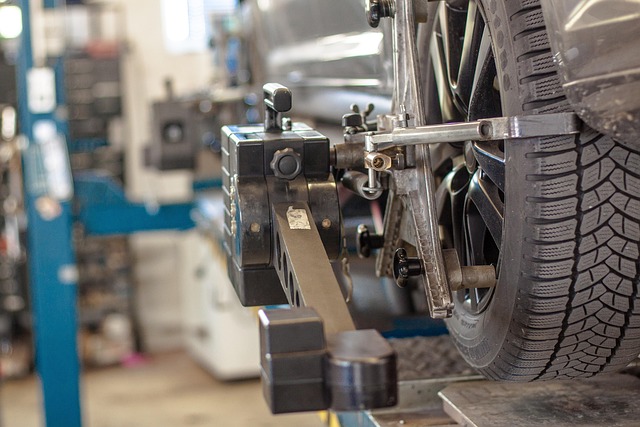
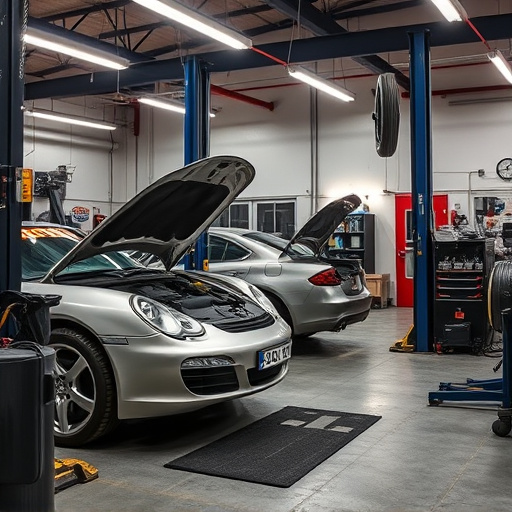
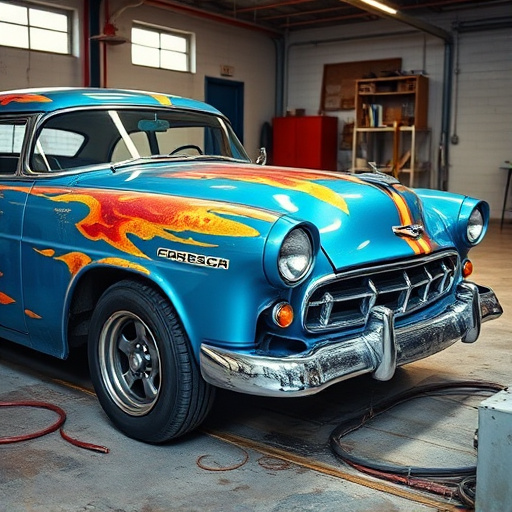
Before you begin the bumper damage repair process, it’s essential to gather all the necessary tools and materials to ensure a successful and smooth fix. This includes acquiring high-quality replacement parts that are specifically designed for your vehicle model – whether it’s a car restoration or luxury vehicle repair job. Consider investing in a set of specialized tools tailored for bumper damage repair, including paint scrapers, sandpaper, and primer. Additionally, you will need various types of adhesives and sealants suitable for automotive bodywork to secure the replacement parts properly.
Follow Safety Protocols for Repair
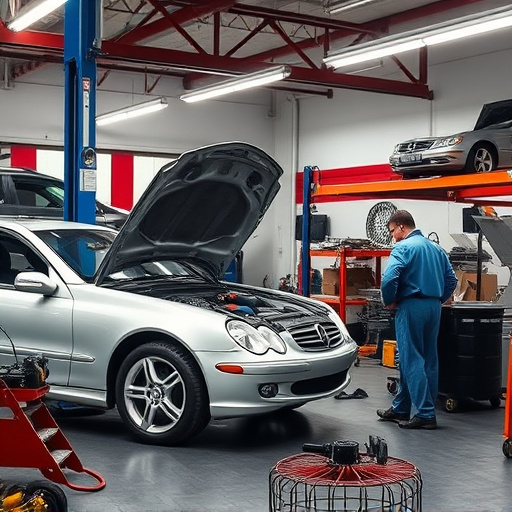
Before diving into the bumper damage repair process, it’s crucial to prioritize safety. This involves wearing appropriate personal protective equipment (PPE), including gloves and safety glasses, to minimize exposure to debris and chemicals. Additionally, ensure a well-lit, clean workspace free from potential hazards. For those tackling the job themselves, understanding local regulations regarding DIY repairs is essential; some areas may require professional certification or inspections for certain types of bumper damage repair.
Moreover, familiarity with tire services, car dent removal techniques, and luxury vehicle repair methods will be beneficial. These skills can aid in identifying the root cause of the bumper damage and selecting the most effective repair approach. Remember, safety should always come first, so if the task seems beyond your comfort level or expertise, consider seeking professional help to ensure a smooth and safe bumper damage repair process.
Before diving into the bumper damage repair process, meticulously assess the extent of the damage, ensuring you have all the necessary tools and materials. Always prioritize safety by adhering to essential protocols. With the right preparation and precautions, you’ll be well-equipped to handle minor bumper repairs, saving time and money while enhancing your vehicle’s appearance. Remember, a thorough understanding of bumper damage repair techniques is key to achieving a smooth, professional finish.